Flows and presenting
A flow is a numbered path through connectors: "first the API receives the order, then it publishes to the queue, then the worker picks it up". Presenting plays a flow one step at a time while you talk. Nothing about presenting changes the diagram; it is a reading of it.
Shortcuts are written for a Mac. On Windows and Linux, read ⌘ as Ctrl.
Build a flow#
- Click a connector. Its popover has Add to flow at the top. The first time, that creates a new
flow with this connector as step 1 and opens the Flows panel with the name selected; type a
name and press
Enter. - Click the next connector and choose Add to
in the same place. It becomes the next step. Repeat along the path. - Press
F(or the Flows button) to open the Flows panel: every flow on the canvas, and the steps of the selected one.
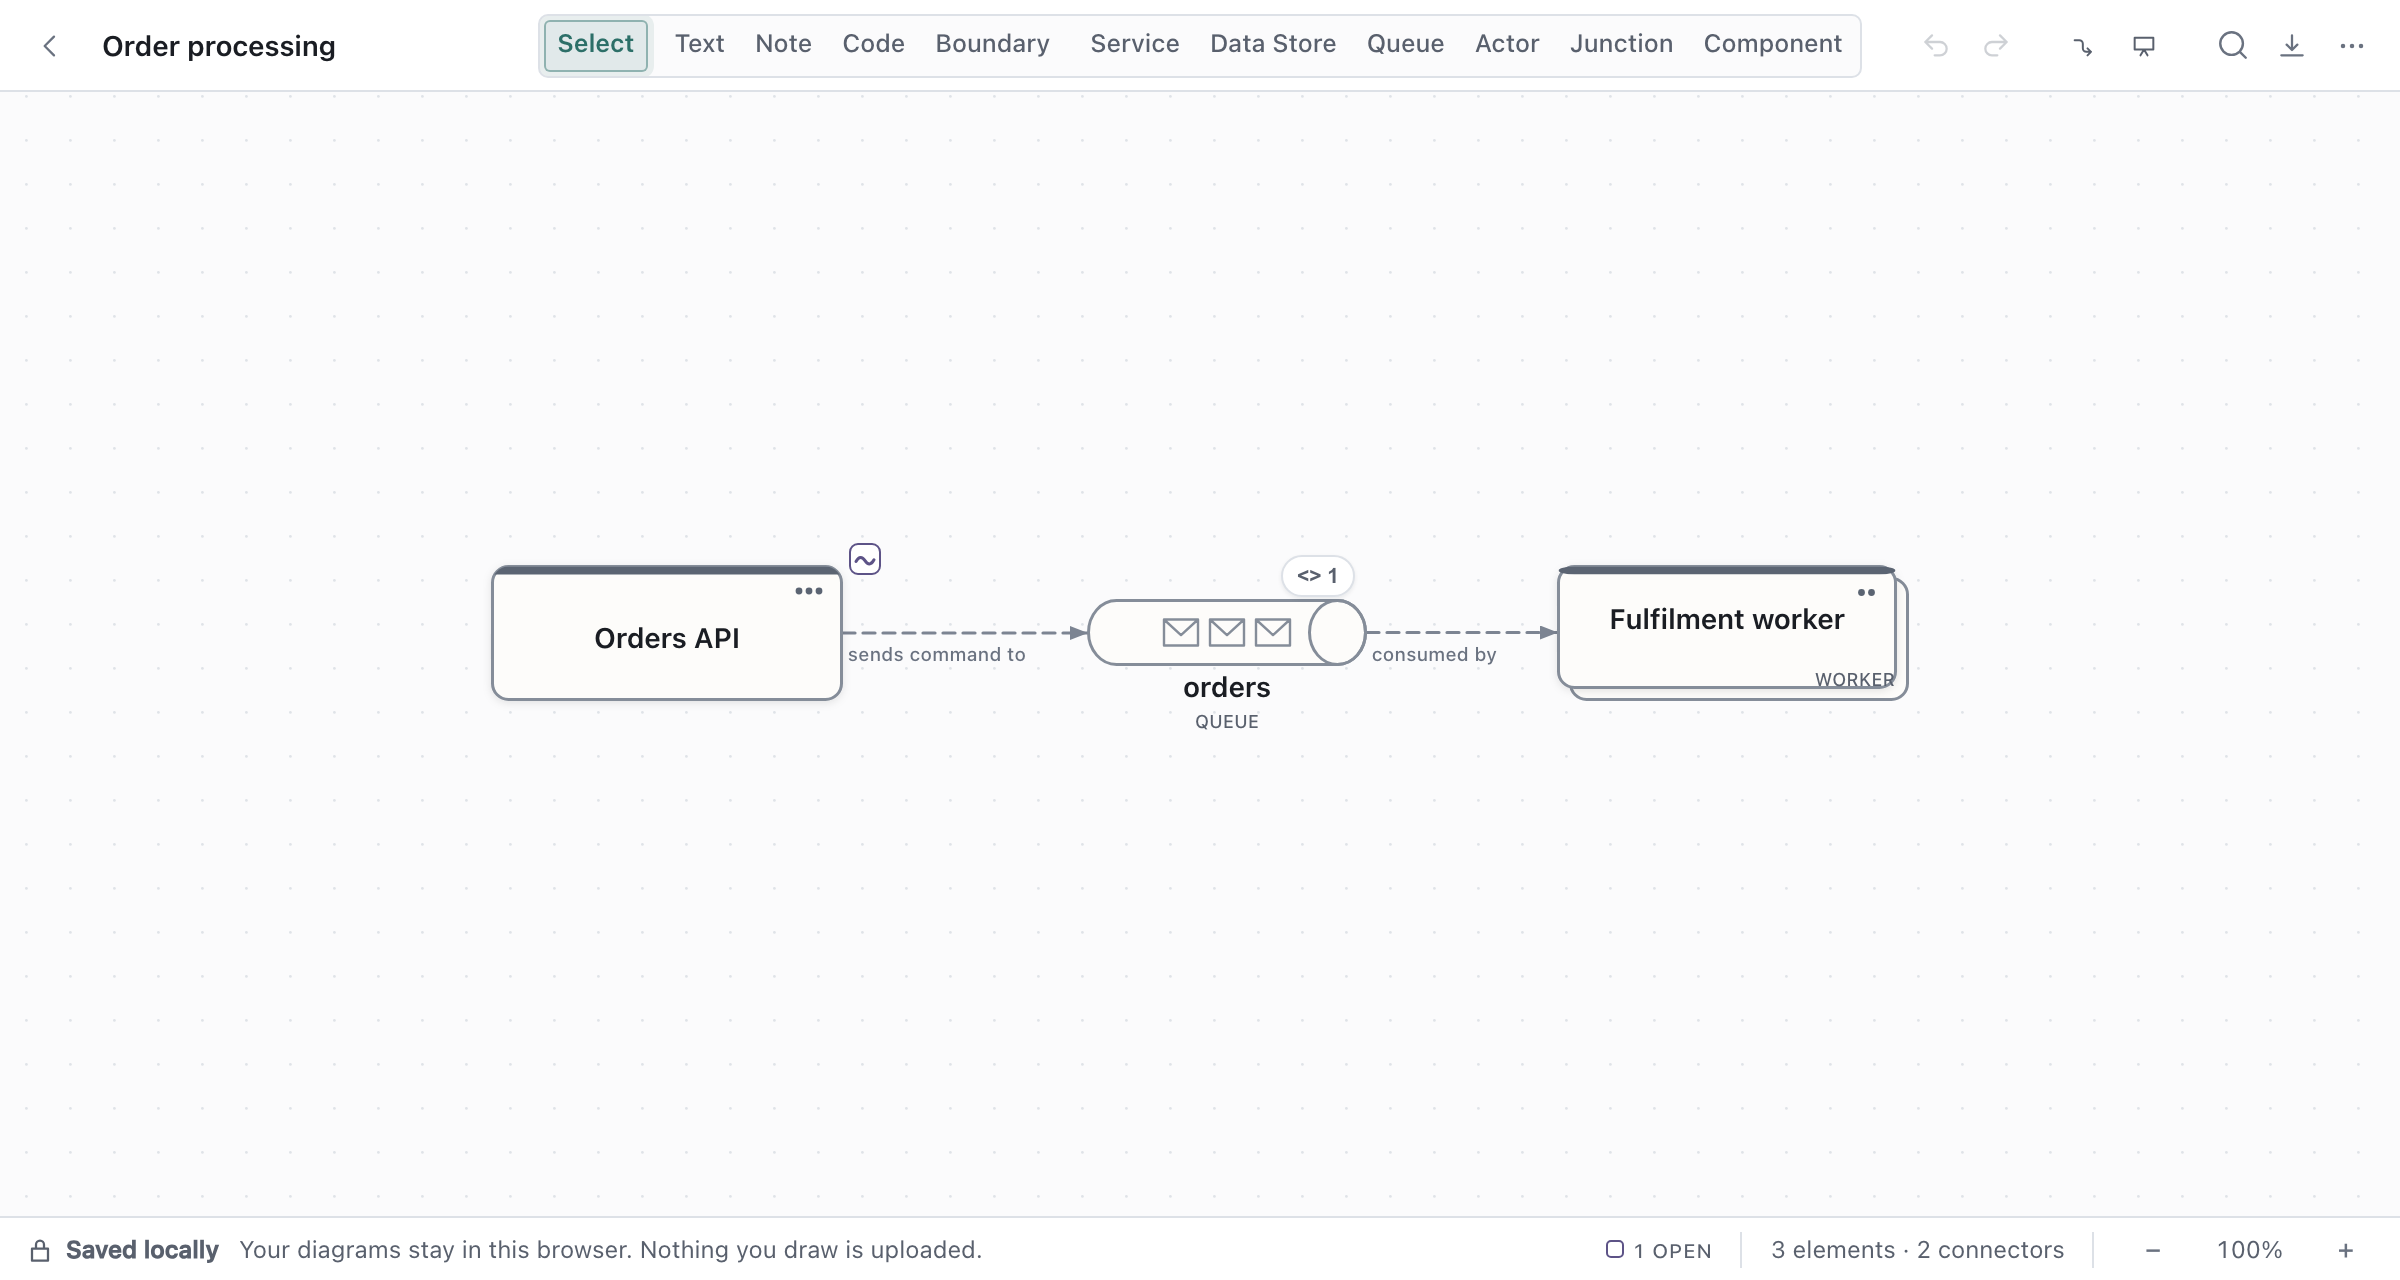
In the panel:
- Move earlier and Move later reorder a step; Remove step drops it.
- New flow starts a second story over the same diagram. Two flows may share early steps and diverge later, so one diagram carries both the happy path and the failure path.
- Rename (
F2) and Delete act on the selected flow. - Each step can carry a caption: the sentence you would say when the step comes up. Type it in the connector's popover once the connector is in a flow; it shows in the corner while presenting.
- Spotlight extra shapes adds the shapes selected on the canvas to a step, so a step can light up a boundary or a data store as well as its connector. Pin the camera saves the current view for that step; Present this step from exactly the current camera position does the same from the canvas.
A step whose connector is deleted is dropped with it. Undo brings both back.
Present#
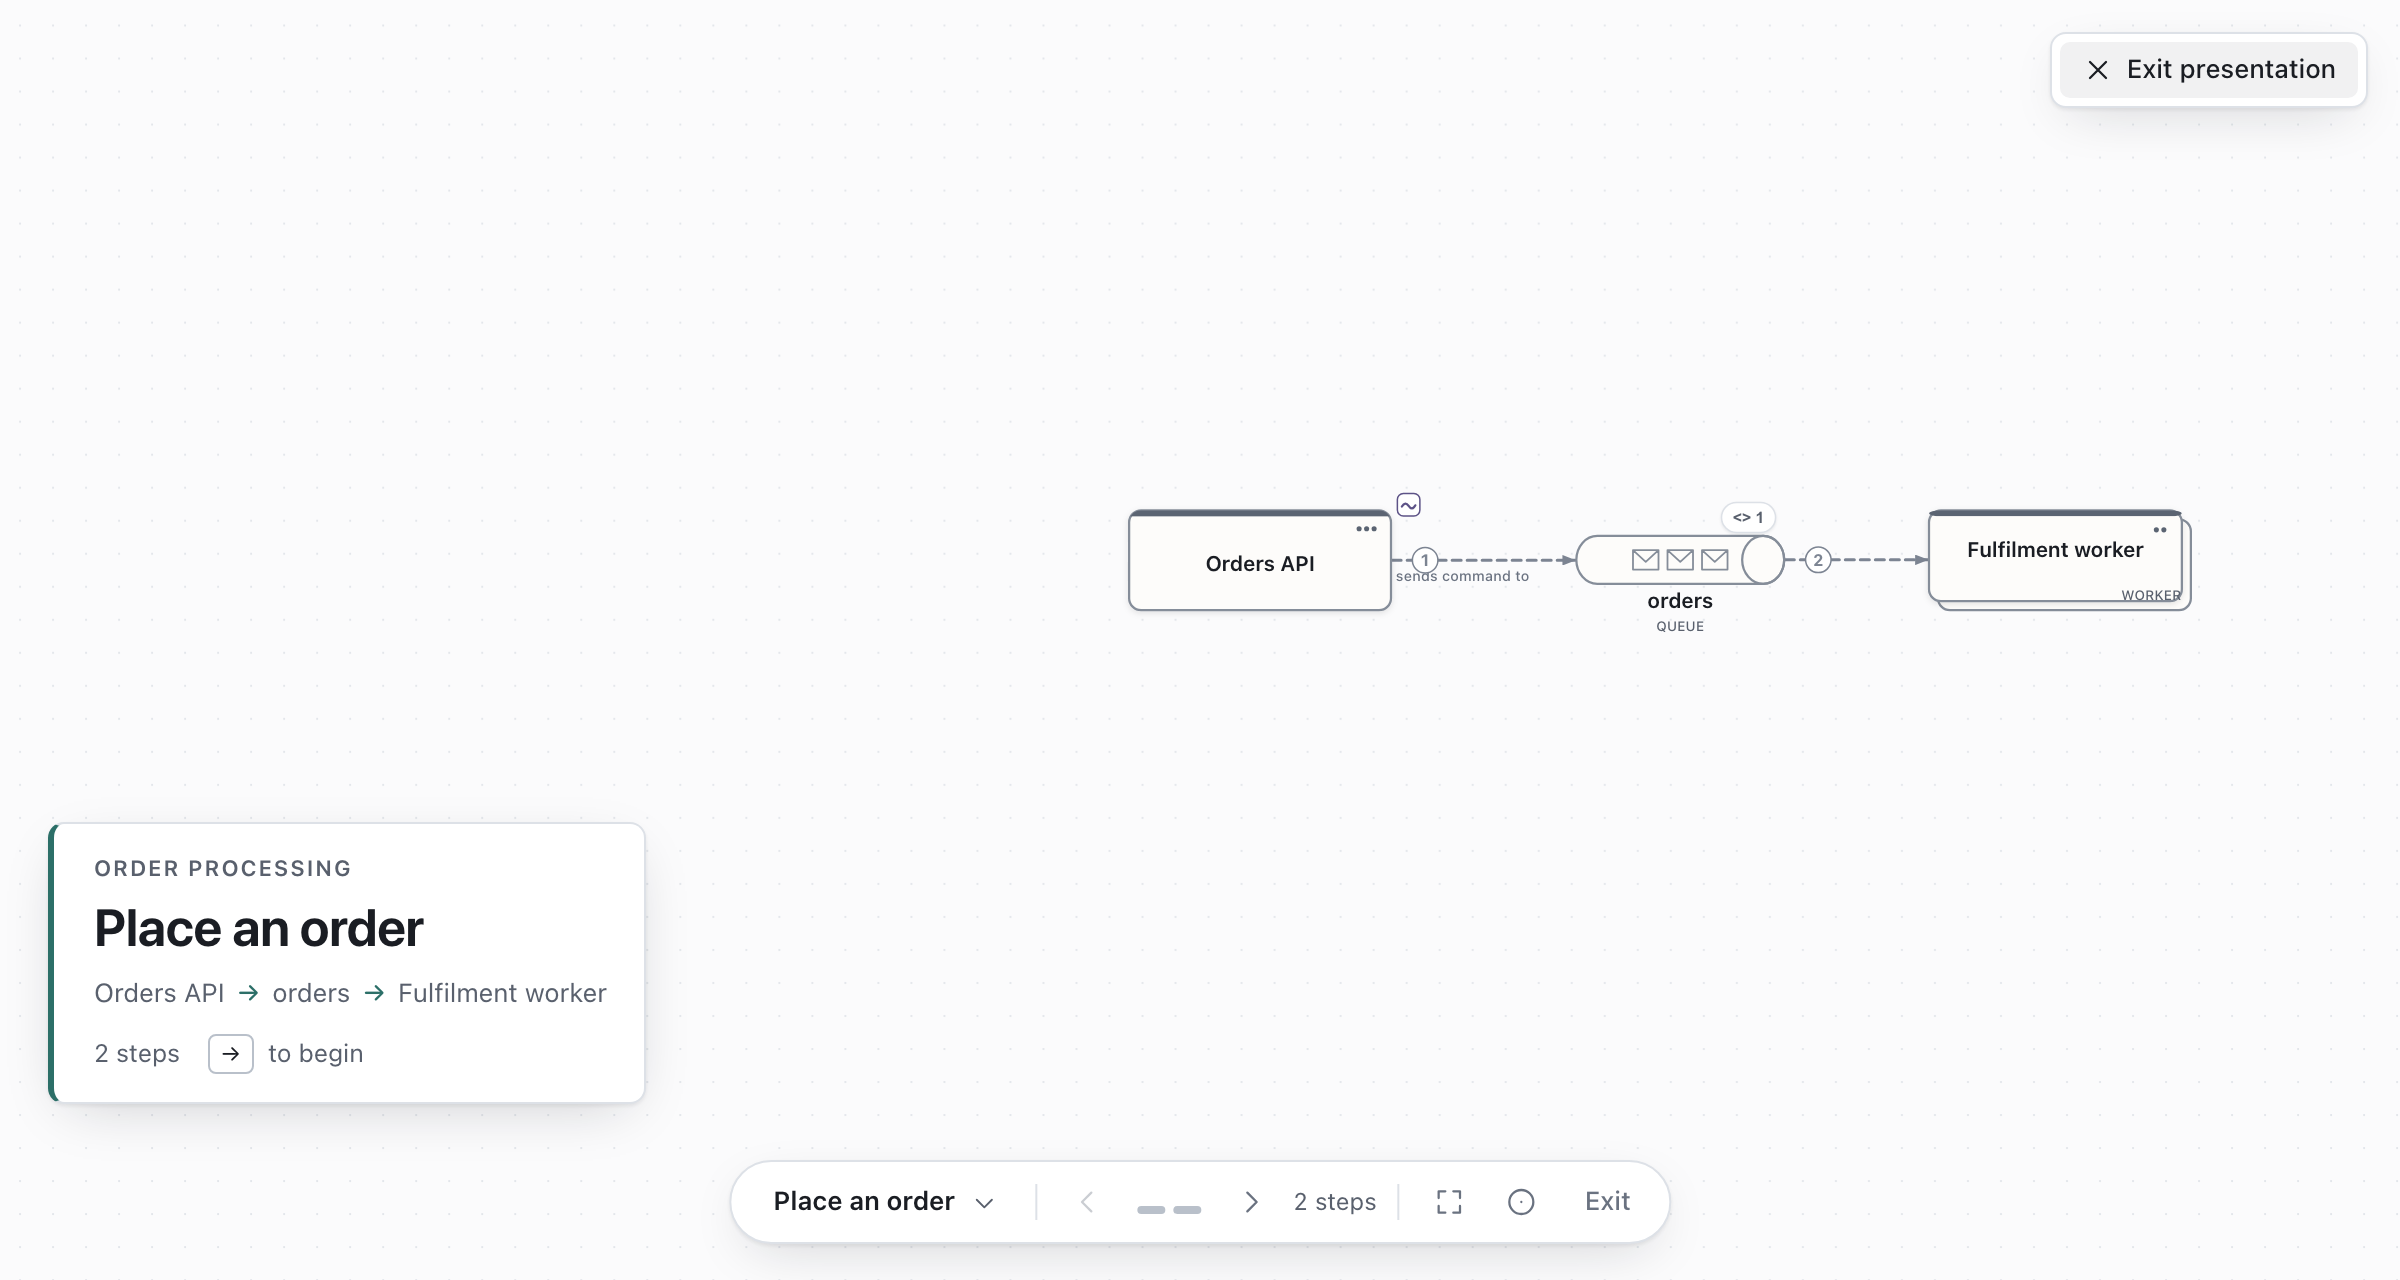
Click Present in the toolbar, or press ⌘Enter. The editor gets out of the way and the flow opens
on its whole path, framed with the rest of the diagram quietly around it.
| Key | Does |
|---|---|
→ or Space |
Begin, then the next step; after the last step, on to the next flow |
← |
The previous step |
Shift+→ / Shift+← |
Move to the next or previous flow without stopping |
Shift+F |
Pick any flow from a list |
R |
Re-centre: hand the camera back after you panned by hand |
O |
Overview: pull back to the whole flow, keeping your place; again to return |
P |
Pointer: a soft ring that follows your cursor |
⌘↓ / ⌘↑ |
Look inside a shape mid-presentation, and back out |
Esc |
Back out one thing at a time: a reveal, then the presentation |
Each press tells one step: a signal travels the connector from where the interaction starts to where it arrives, the destination lights up along its own outline, and the caption names the two shapes and what the step says. Then everything holds still so you can talk.
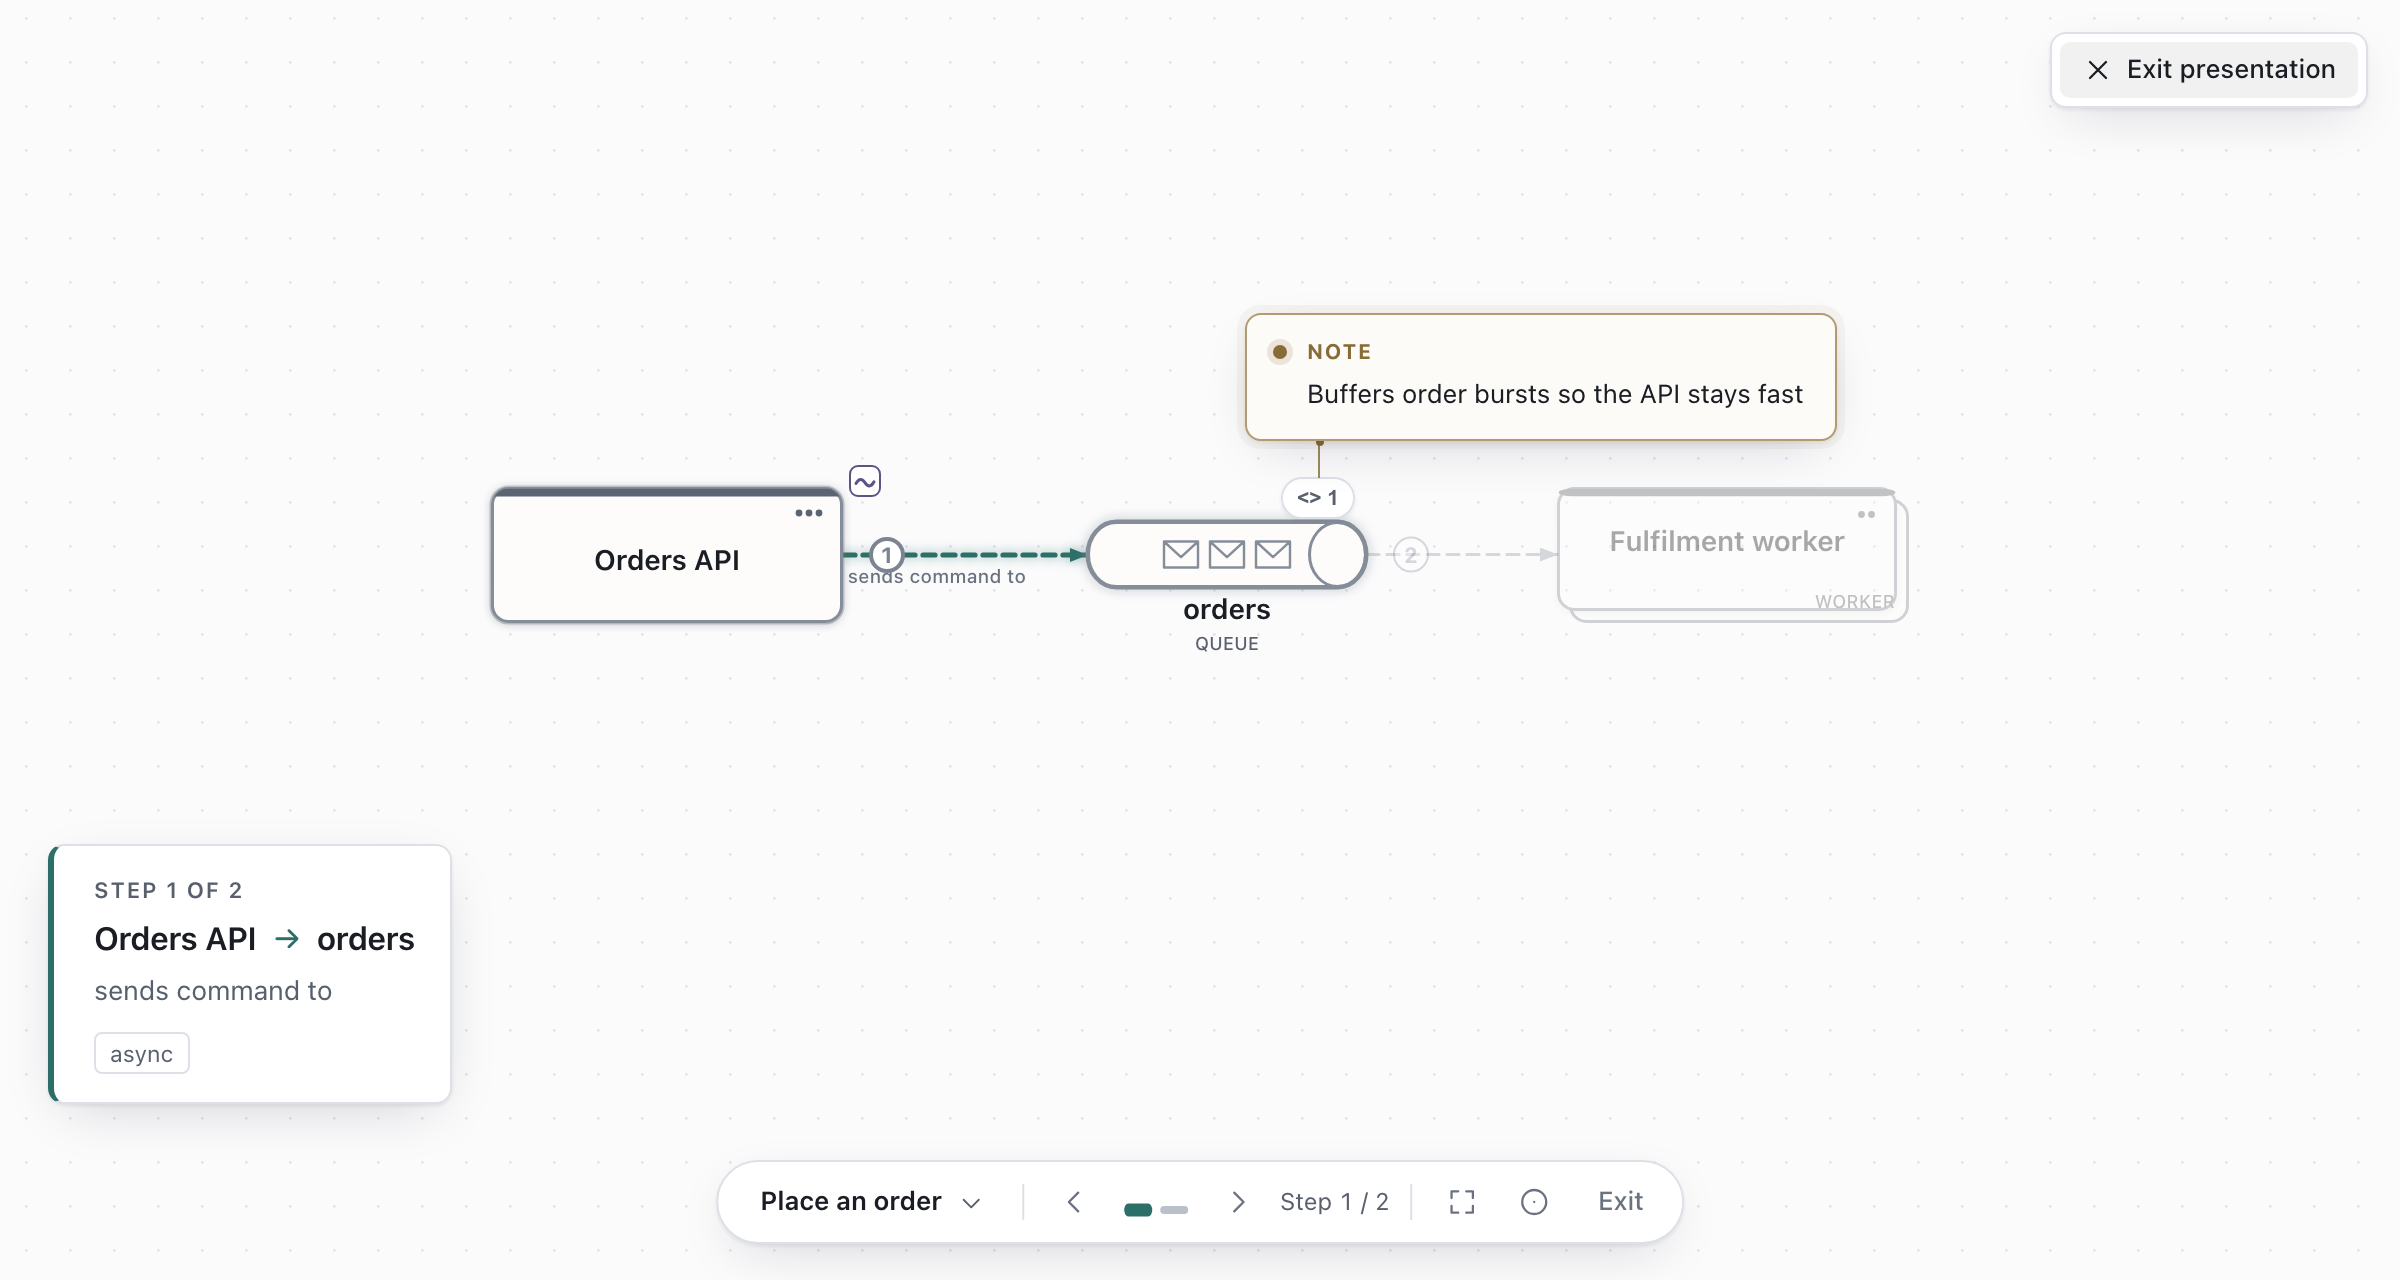
The notes attached to what a step shows appear beside it, the first time the flow reaches them. Click an open-point marker for a read-only look at what is still unsettled there.
The camera follows the story rather than each shape: it holds still while the next step already reads, slides a little when it has to, and recomposes only for a long handoff. Pan or zoom by hand whenever you like; guided framing stands down until Re-centre asks it back.
With more than one flow, Draft Canvas asks Present which flow? first. The bar names the flow you
are in and where it sits (Place an order · Flow 2 of 4); click it for the full list. On the last
step, the button to the right of the title names the flow that follows.
Esc returns to editing at the same view with the same selection.
Export a flow as a sequence diagram#
Press ⌘⇧E and choose Source, then Mermaid or PlantUML. Every playable flow becomes one
sequence diagram, as plain text for a README or a wiki that already renders those formats; the panel
shows the text, and Copy puts it on the clipboard. Flows inside other levels come too, one section
per level. A connector's asynchronous mode and its response line come through; sequence diagrams have
no notation for open points, so those are left out.
Each message is sent by whoever acts. A connector drawn from a store or a queue to the thing that
reads it — Database → Worker: read by — becomes the worker reading the database
(Worker ->> Database: reads from), because in a sequence diagram the arrow is the call.
For a picture of one step, present it and take a screenshot, or export Image with the flow selected: its step badges are drawn on the connectors.
Where next#
- Getting started: the first flow, end to end.
- Mark what is still open: capture what the presentation raised.
- Saving, backing up and sharing: every export, and what each keeps.